April 07, 2012

DIY Felt Flower Hair Accessories & Pins

 I love do it yourself projects, but I like them to be easy without the extra fuss. 
As we know flower accessories are a hit with little ones. 
 Have you noticed the price tag on these hair clips and pins? 
That is why I decided to try my hand at making some.


Things you will need.  Bright colored felt, hair clips or pin backers, ribbon, jewels and stretchy headbands. 
Plus a glue gun or no sew glue. 
Just to let you know I was able to purchase alot of my supplies for under a $1.00 at places like walmart, dollor store and target.

I made a cardboard paper pattern out of flowers I had around the house.

I used the cardboard flowers for tracing.

In the middle I placed hot glue to attach the felt cut outs together.

On the hair clips I cut ribbon for the top part of the clip and glued on.


Final step glued a jewel in the middle and a clip on the back.


I wanted to show the backs so you can see what a pin or clip looks like on back.


Here are some of my DIY creations.


These cute flowers can dress up an outfit. 
 I added a felt flower pin to a dress I only paid $9.00 for and a headband to match for my little one. 


March 17, 2012

Sugar Cookie Surprise With Nutella Spread

Did anyone say nutella?  I was at a coffee house the other day and had this amazing cookie.  Which we will call the Hazelnut tart cookie.  Of course my wheels started a turning on how I could make a copy cat of this cookie.  The first thing that popped to mind was a sugar cookie with nutella inside. 
Wanting to make this simple I purchased a jar of nutella and a package of Betty Crocker sugar cookie mix.


Follow directions on the sugar cookie package.  I do suggest though that you cut the butter down to 1/3 cup instead of the full 1/2 cup on the recipe.  Due to the dough becoming to sticky and soft to work with.  Add flour along the way to make stiff for rolling and cutting.  It's time to assemble these easy cookies by rolling out the dough and cutting shapes.  Using a square cookie cutter or round will do just fine.  Make sure to cut even amount of squares.  Spread 1 teaspoon of nutella on one and place another piece over to seal together.  Gently press together around the edges to seal.  They will come out looking like ravioli.


Place cookies on baking sheets and bake at 350 for 10 minutes or until they are lightly browned.

For extra appeal I added melted chocolate on top after the cookies cooled. 
I have to say that these cookies turned out easy to make and tasted so good I couldn't just eat one. 
Let me know if you try them out and what you think.

March 01, 2012

Dassant "Lemon Cake with Lemon Curd" Recipe

I have a friend that loves lemon anything, and is always looking for a new baking opportunity for me to try. 
She happen to come across a company that makes premium baking mixes that you can only buy on-line.   
 A few weeks ago a packaged arrived with six lemon cake boxes and straight out of the box I was handed a mix and a recipe to try from Dassant company.


What I like about this cake mix and recipe that it was simple.

Here is the recipe as follows

Cake

1 box of Dassant lemon cake mix
2 eggs
1 cup milk
1/2 cup vegetable oil

Topping

Store bought lemon curd
1 1/2 cups powdered sugar
2 to 3 tablespoons of lemon juice

This recipe calls for a angel food cake pan, but I used a spring cake pan for the job.
Spray pan or lightly grease the pan with oil and set aside.
Preheat oven to 350 degrees

Combine eggs, milk and vegetable oil and add cake mix gently beating until smooth. 
Pour batter into pan and bake for 30 to 45 minutes or until done.

Once cake is cool spread lemon curd over the top of cake. 
In a bowl mix together powdered sugar with lemon juice with a hand held mixer on low.
Drizzle over the cake with a spoon or fork.


I have to say this recipe is one to try and keep.
My friend was very pleased with the outcome and is looking for a new recipe as we speak.


February 15, 2012

"Queen of Hearts" Valentines Goodies

This Valentines day my wheels were turning with what I could make for my daughter's class without breaking the bank and it had to be easy.  I came up with these adorable  
 "Queen of Hearts" goodie wands.


All you need is ding dongs, marshallow hearts, gummy hearts, icing hearts, sprinkles, melting chocolate, and candy sticks.


I always like to make things easy by having all items unwrapped and ready to go.  Start by melting chocolate in a sauce pan or microwave.  The chocolate is the glue for this project.  As you can see above push heart marshallow half way down and add chocolate on top.  Next step is to add the ding dong and gummy heart.  Which you can see below, now time to add a little chocolate to glue the sugar hearts and the sprinkles that are on the marshallow hearts.


Wait until they dry before packaging in cello bags and ribbon.  I made about 24 within 30 minutes and I loved the outcome in the end.


The next project on the list was candy cup treats for my co-workers.  I was short on time and know I had items around the house that could be turned into a sweet treat for valentines day.


I had purchased bags of valentines candy before hand and needed a container to put them in.  I happen to have these clear cups with lids on hand.  I decided to make a candy cup stack with ribbon for extra cuteness.  I used heart stickers to keep the ribbon in place on top and bottom.  Just to let you know you can purchase these containers at walmart around $2.00 or $3.00 bucks.


Check out these cute bags that I bought to put granola and coconut for my daughters class party.


And to my surprise I received these yummy treats from one of the sweet & simple sisters themselves.  My sister blessed me & my family with cookies dipped in chocolate, cake balls, brownies and more chocolate all homemade.


February 02, 2012

A Black & White Affair "40th" Birthday

Party's are great, who doesn't enjoy a good party.  But when you have to plan it and bring it all together its a little on the stressful side, especially if you are a perfectness and that would be me.  I normally plan events months in advance in order to keep the stress level and cost down.  Since I would be turning 40 I was on the fence on if I would be celebrating this mile stone.  After great thought I decided why not you only turn 40 once.  Only three weeks to plan and pull it all together, I had set myself on overdrive.  Coming up with the theme was the first plan of action.  I wanted it to be fun and elegant not funny like most decorations you see for over the hill party's.  I thought I would like a black and white affair with a twist of elegance.       


For me the invitations is what sets the tone for the decor.  I am into damask and filigree prints right now, so incorporating them into the party theme was a must.  


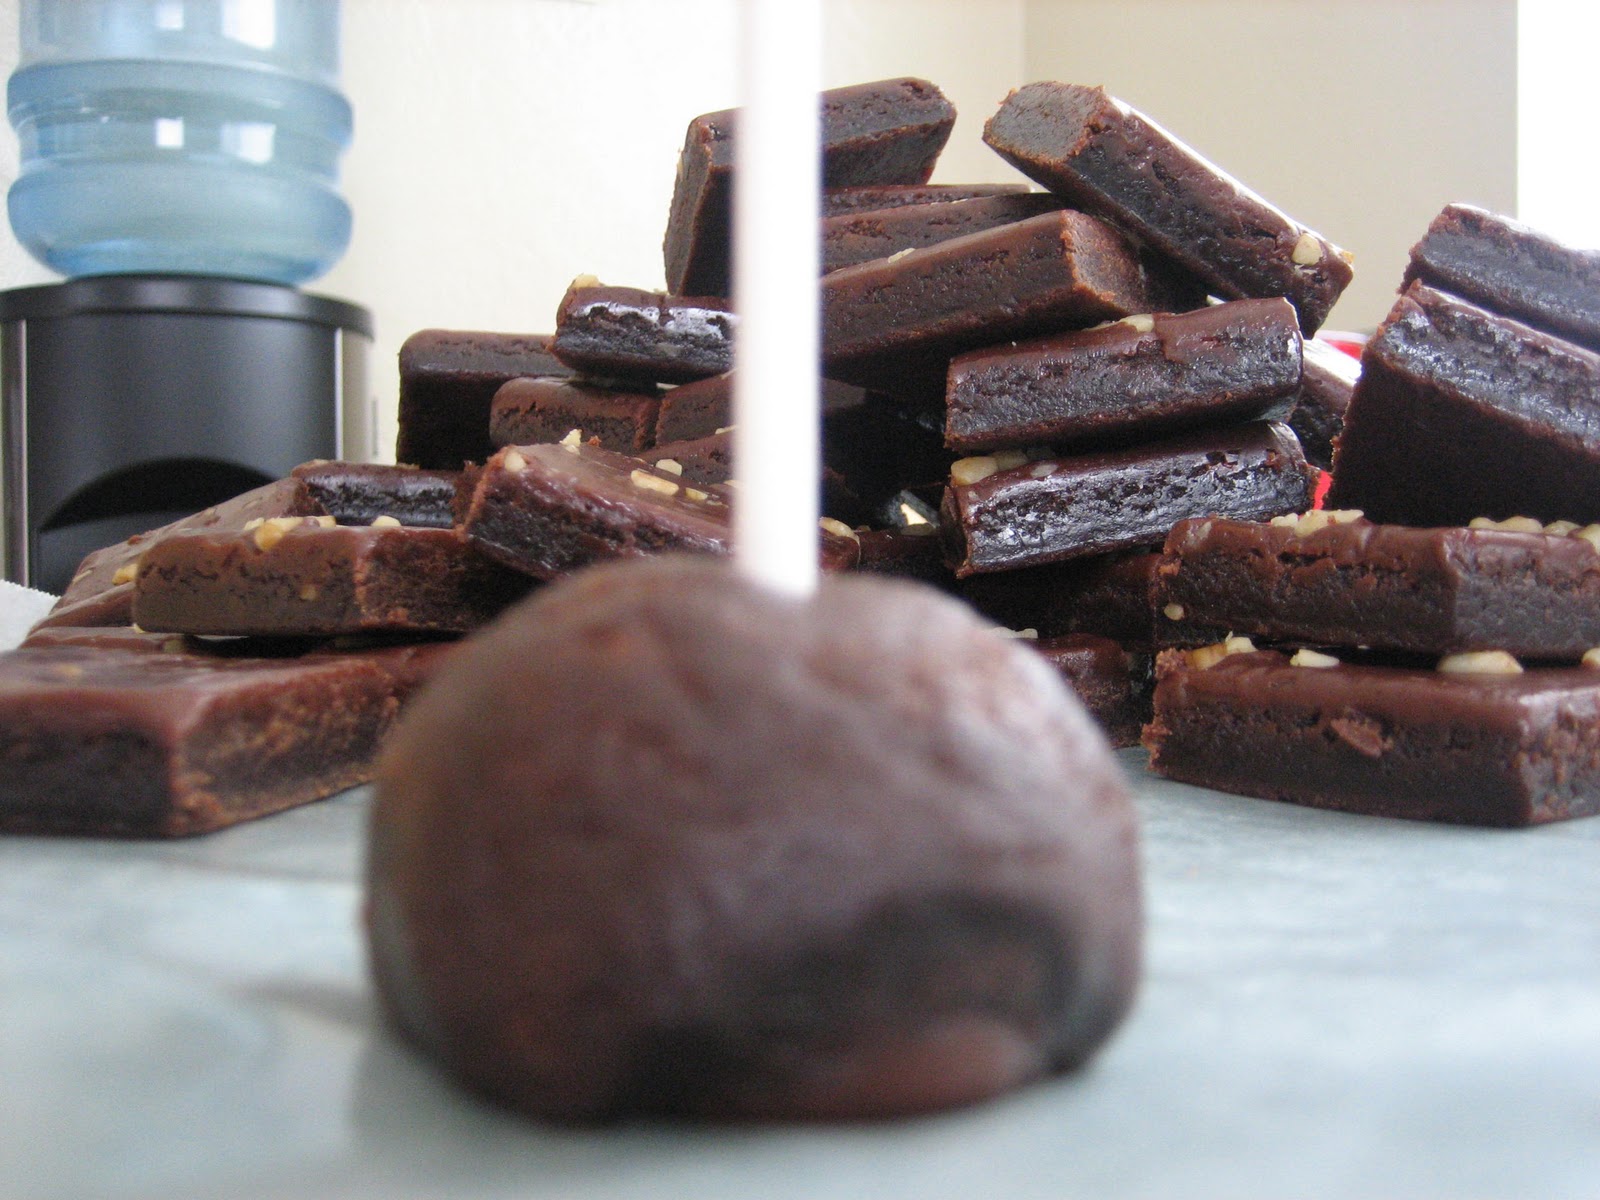
What also worked for me was the idea of a chocolate & champagne bar.  My family loves dessert and for each party we love to add a dessert bar.  My sister made these wonderful cake balls and whoopee pies, the flavors were red velvet, peanut butter and chocolate.  A chocolate fountain with lots of dipping items like strawberries, marshallows, cookies, red vines, pretzels and an assortment of chocolates that I pick up. 
The great pairing of almond champagne was the best.  The champagne I got for $6.99 on sale for each bottle and the goodies I got for low cost at walmart.  When you shop around it keeps the cost down.  


At the entrance to the party I placed a memory jar.  Where guest could write a memory of them and the birthday girl.  I bought the dry erase board for $1.00 & notecards all at the dollar store.


Above I used an old push pin board to make a frame back ground for pictures.  I hot glued black wide ribbon around the edges and printed damask paper off the internet for the back ground.  Only costing me the cost of the ribbon at $1.99.

As for the center pieces a great friend of mine made them only at the cost of $6.00 for each one.  By using back and white tull.  Vases that where purchased at the dollar tree and white 40 she made out of sparkle foam sheets. 


Below I wanted to include my personality to the mix.  By adding special sayings on the walls.  I wanted to keep the cost down, but I still wanted a framed look.  I was able to purchase a set of two canvas at $14.99 and sparkly letters at Micheal's.  Which end up being cheaper them buying frames.  To give it the frame look I hot glued two tone black ribbon around the edges and added cut outs that you can buy in the scrap booking section. 


For the decor we wrapped the poles with damask print long table clothes and tied with ribbon.  We got the table clothes for a bargain at walmart only .99 cent.  They were plastic, yes I said plastic.  We also used a roll of white and black table clothes to drape under and around the patio area.  With white lights and a disc ball for a extra flare.   

Other ideas is if you have family or friends that have items you can borrow it helps with the decor and cost that is always a plus.  A friend let me borrow his candle chandlers for the gift table and chocolate bar.

  I also bought fun items at the dollar store like mask, boas, funny glasses and glow sticks to keep the party going. 

I added a lotto ticket drawing to the event.  Through out the night guest would receive tickets for the drawing like if they wore black and white or said nice or funny things about the party or me.

We all have ideas and thoughts on how things are going to look before it all comes together.  At the end of this event I was very pleased with the out come.  My guest enjoyed the evening and the decor, which always brings a smile to my heart that they did.


January 19, 2012

Black & White 40th Birthday Invites

I am less then a week away from my big 40 black & white party.  I still have so many things to do before the big event.  But I wanted to give you a seek peek into the invites that were put together by me & my sister.  The hunt was on for the perfect style and what I was trying to accomplish.  Since I would be turning 40 I wanted to go with an elegant look.  When working on invites I try looking at many places before I choose paper or cards to work with.  I happen to find these ones in the clearance wedding section at a paper supply store for a complete set of 25 cards at the cost of $16.98.


My vision was made of using ribbon, damask paper, sparkly 40's and jewels.  The goal was to keep it simple, but still make a stand out card.  My sister had the lovely job of cutting the forties with her cricket machine and adding the sparkle.  Mine was to print the inside wording for the invites and assemble them together.  


Suggestion when shopping and making your own invites.  In vision what you would like to have.  If you can come close to what your looking for don't worry that it won't work or come together.  You have to complete the project before you can picture it.  I will be posting more of my party ideas and decor this coming week. 
Wish me luck that I get it all done in time.

January 13, 2012

Wedding Brownie Pop Bliss

We all know that the cake & brownie pop is one of the hottest raves to hit party and wedding dessert tables this decade.  I had the honor of making brownie pops for a wonderful friends wedding this weekend.  I have come up with one of the easiest ways to cut time & cost when making these delishes treats.


I use the following items for this task: 4 boxes of the big pack fudge brownies by Little Debbie's, 3 bags of white chocolate, 1 bag of navy blue chocolate, 100 white candy sticks and navy blue ribbon for bows. 


Gather together what you will need and start working.  I like to unwrap all the brownies first.  Cut in half and roll into little balls.  Once shaped place a candy stick in the center.  Before dipping in chocolate, I place the pops on a cookie sheet lying down and in the freezer for 15 to 20 minutes.  It makes it a lot easier to dip in chocolate and it helps to stay on the stick better. 


Out of the freezer and into the heated up white chocolate they go.  I bought a wonderful chocolate melting pot a few years back.  I suggest you purchase one if you work with chocolate.  Very carefully dip one at a time into the melted chocolate and swirl around to cover.  Pull up out of the chocolate and move the pop in a circle motion to help remove the extra chocolate.  Then place on wax paper to dry completely before decorating or doing a second coat if needed. 


 Please note not every brownie pop will come out pretty or one will even break.  But if you take your time they will come out great. 

For striping these babies I melted navy blue chocolate that I picked up from Standlee's on third in Chula Vista.  I used a pipping bag to make the lines.  You can also use specialty clear bottles that can be purchased at a candy or cake supply place for melted chocolate.  Leaving you with this final product. 
Please note that I made 96 brownie pops with this recipe.


I hope you enjoyed this tutorial..If you did please leave a comment or question if you have one...I will be happy to answer. 

 Up next is my 40th birthday party that I will be blogging ideas on the black & white affair that is coming up real soon.  Keep a look out to see what I have to share on invites, decor, food, dessert and much more. 

Until then have fun making these babies they are a joy to eat.